


Written by Jen Pierce Photography
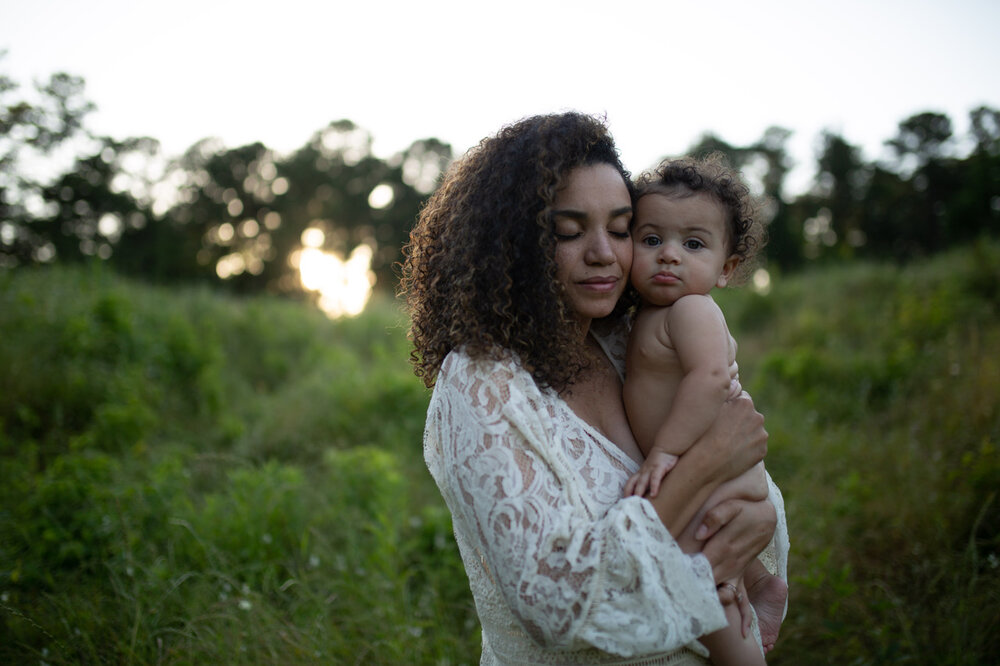
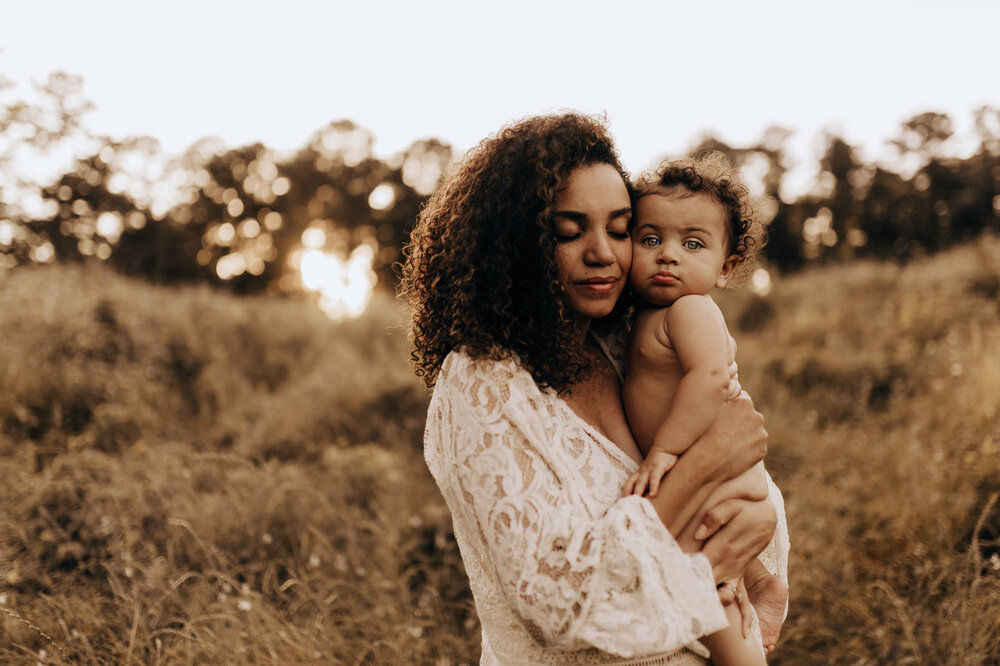
When it comes to editing clients with melanated skin and dark skin tones, oftentimes the presets that work for lighter skin are not the best match. We need to be able to see all features and not lose them to the shadows or tones used in certain presets. Surely in the past you’ve encountered fair skin tones appearing ‘washed out’--this is similar, but in exposure reverse. While lighting is a big factor for all skin tones, it’s not the only ingredient required for perfect complexions.
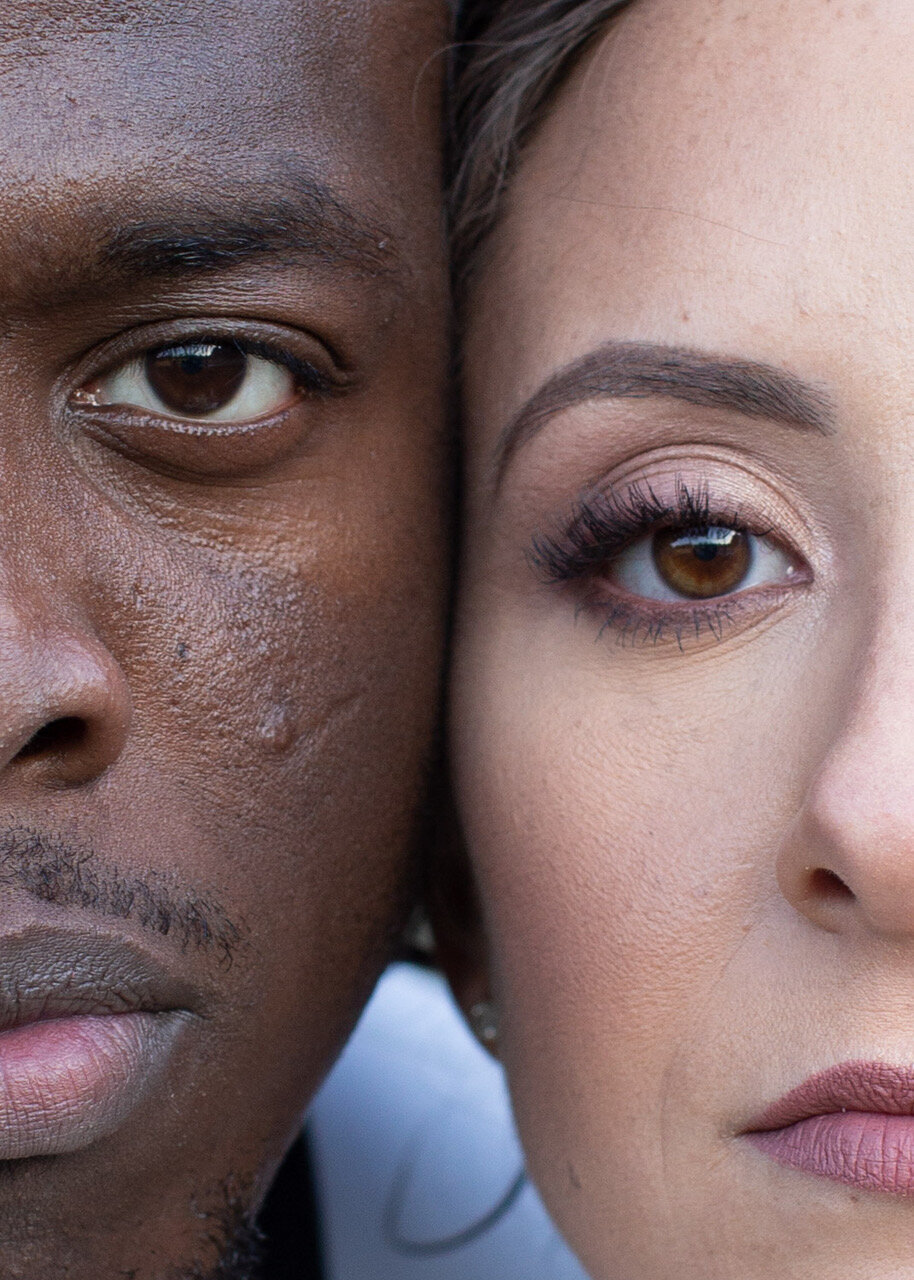
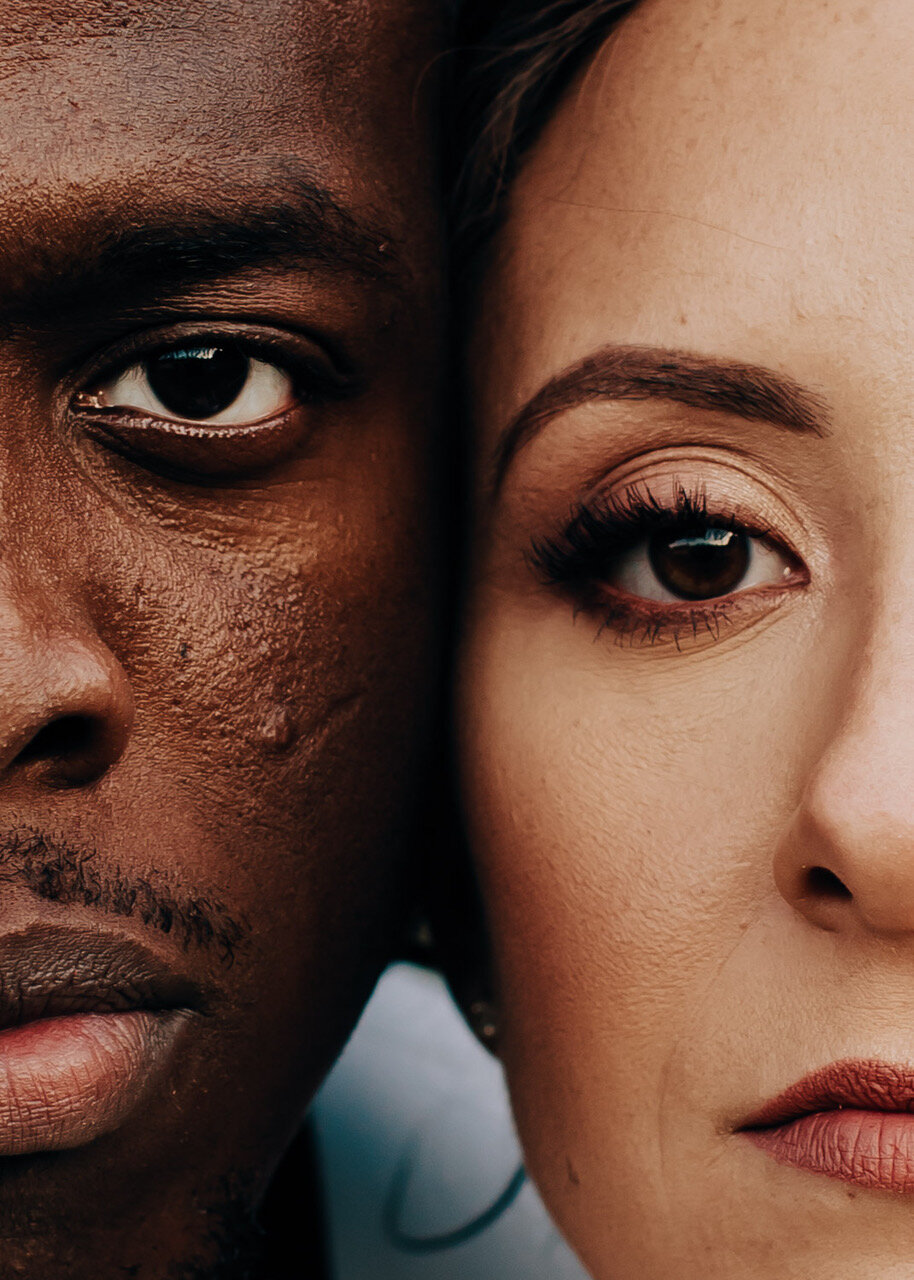
Editing melanated skin is not hard, but it can be tricky when you are learning to edit an interracial couple. As a biracial woman with a darker complexion than my fair-skinned caucasian husband, I understand the importance of being able to edit all complexions (separately or in the same frame). If you’re interested in better representing all of your clients, check out this easy guide to teach you the three main steps to achieving bold and beautiful skin tones.
Before
After
Perfect light for complexions
When photographing darker skin, over-exposing or harshly lighting may bring out features better but it might come at the expense of a blown-out background or sky. To make sure no features are lost to the shadows, try using a reflector—it’ll cast beautifully even light on your subject while saving your image from overexposure. I like to backlight my clients and use a reflector so that we see them perfectly and are not having to shoot with them facing directly into the sunlight. Making sure you have great lighting saves you tons of time when post-processing.
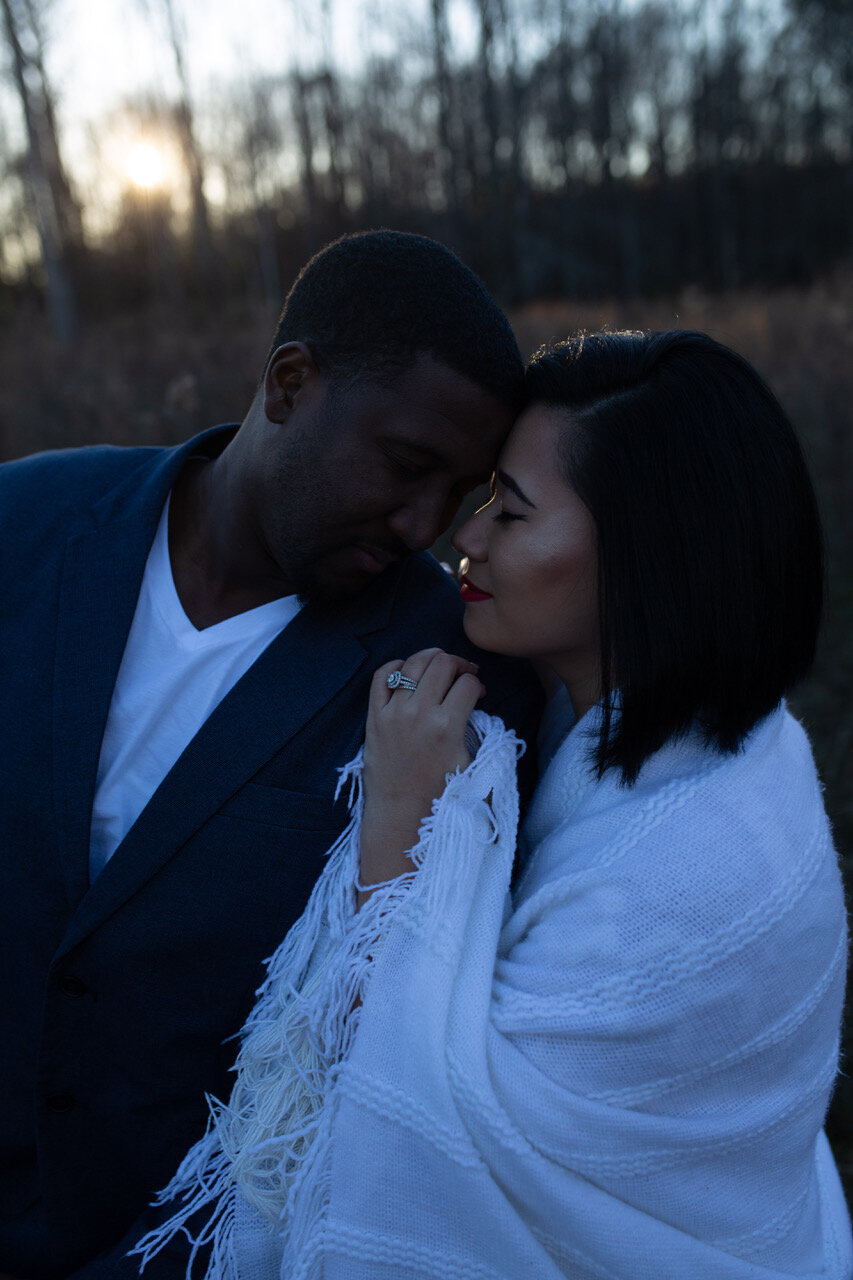
Before
After
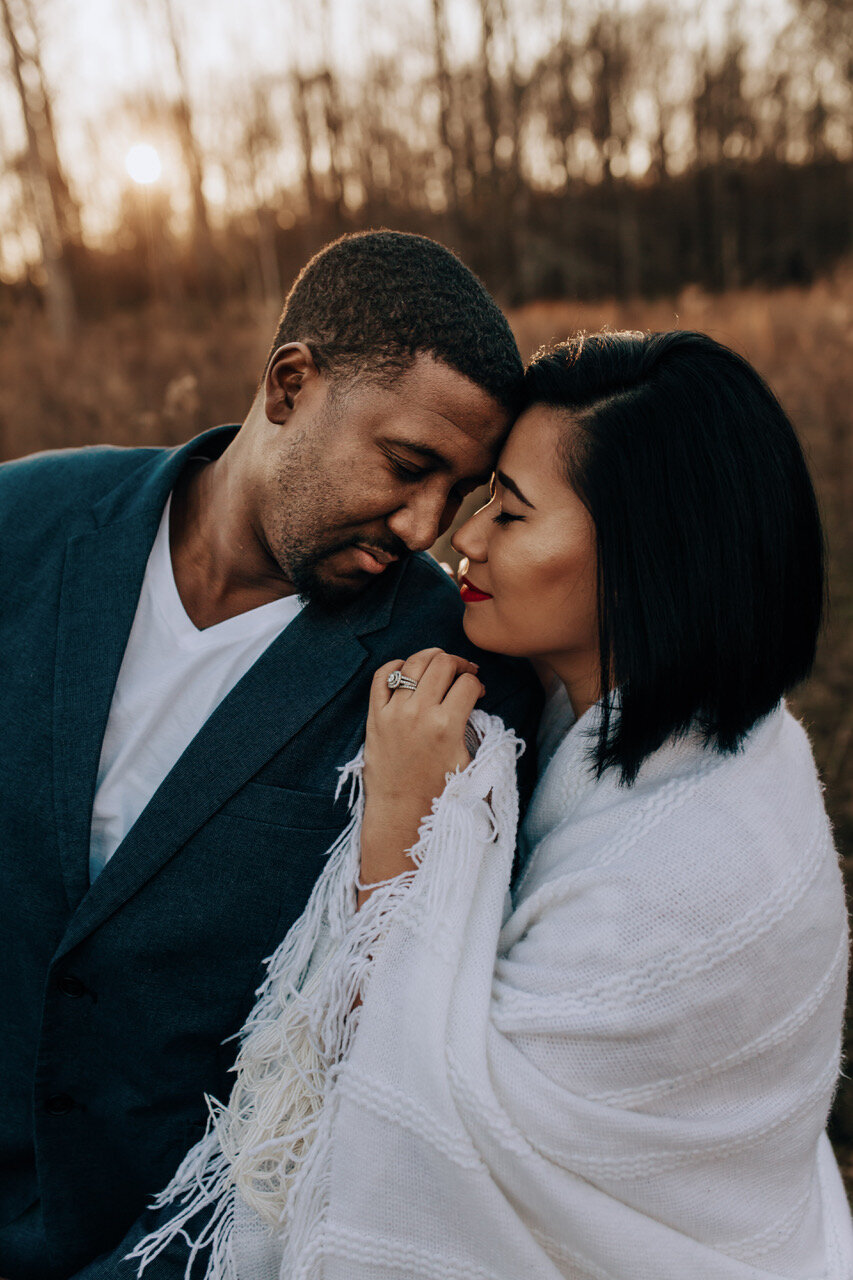
Finding the balance between the two
When you are photographing an interracial couple, or a group of mixed race people, keep your exposure on a setting that doesn’t underexpose and lose the features of darker skin while also keeping it at a happy medium so that your fair-skinned subjects aren’t blown out. I personally edit in a more moody style, so I like to shoot a tad bit darker, knowing that I am going to bring up the exposure when editing if need be. I also like to use my brush tool, so that I can choose to not lift exposure, and only brighten my desired subject(s). Note that when you are using the brush tool, you are only tweaking exposure and shadows on darker complexions—this does not change the color of their skin or make them appear lighter in color, it only lifts the exposure. You will find it easier to expose the photo perfectly for the background and then use brushes to specifically target the skin of your subjects. Using a brush to turn up the luminance of certain colors will also enhance melanated skin.
Features to feature
Be mindful of certain features on dark complexions. Yellow eyes and purple lips are the number one giveaway that your tones are off. Do not make your photos so warm that your skin tones begin to heavily appear orange. Dark complexions look amazingly smooth when the highlights are bumped up; this also helps features stay defined. Photograph your subjects against backgrounds that complement their skin, and that don’t compete with their outfit or hair.
Just as there is no one-size-fits all approach to photography, there is no one-size-fits all approach to editing different skin types. In order for you to be able to deliver memories that feel true to your clients, you have to learn how to faithfully photograph and edit each person to achieve the most flattering representation of their skin tone.
Watch the video below for tips on how to correctly edit darker complexions.
Melanated masterpieces:
A guide to editing POC and interracial couples
FAQs
What do photographers need to know about photographing melanated skin?
How do you edit darker skin tones in photos?
What is the most important thing to know when photographing interracial couples?