


Written by Karen Dell
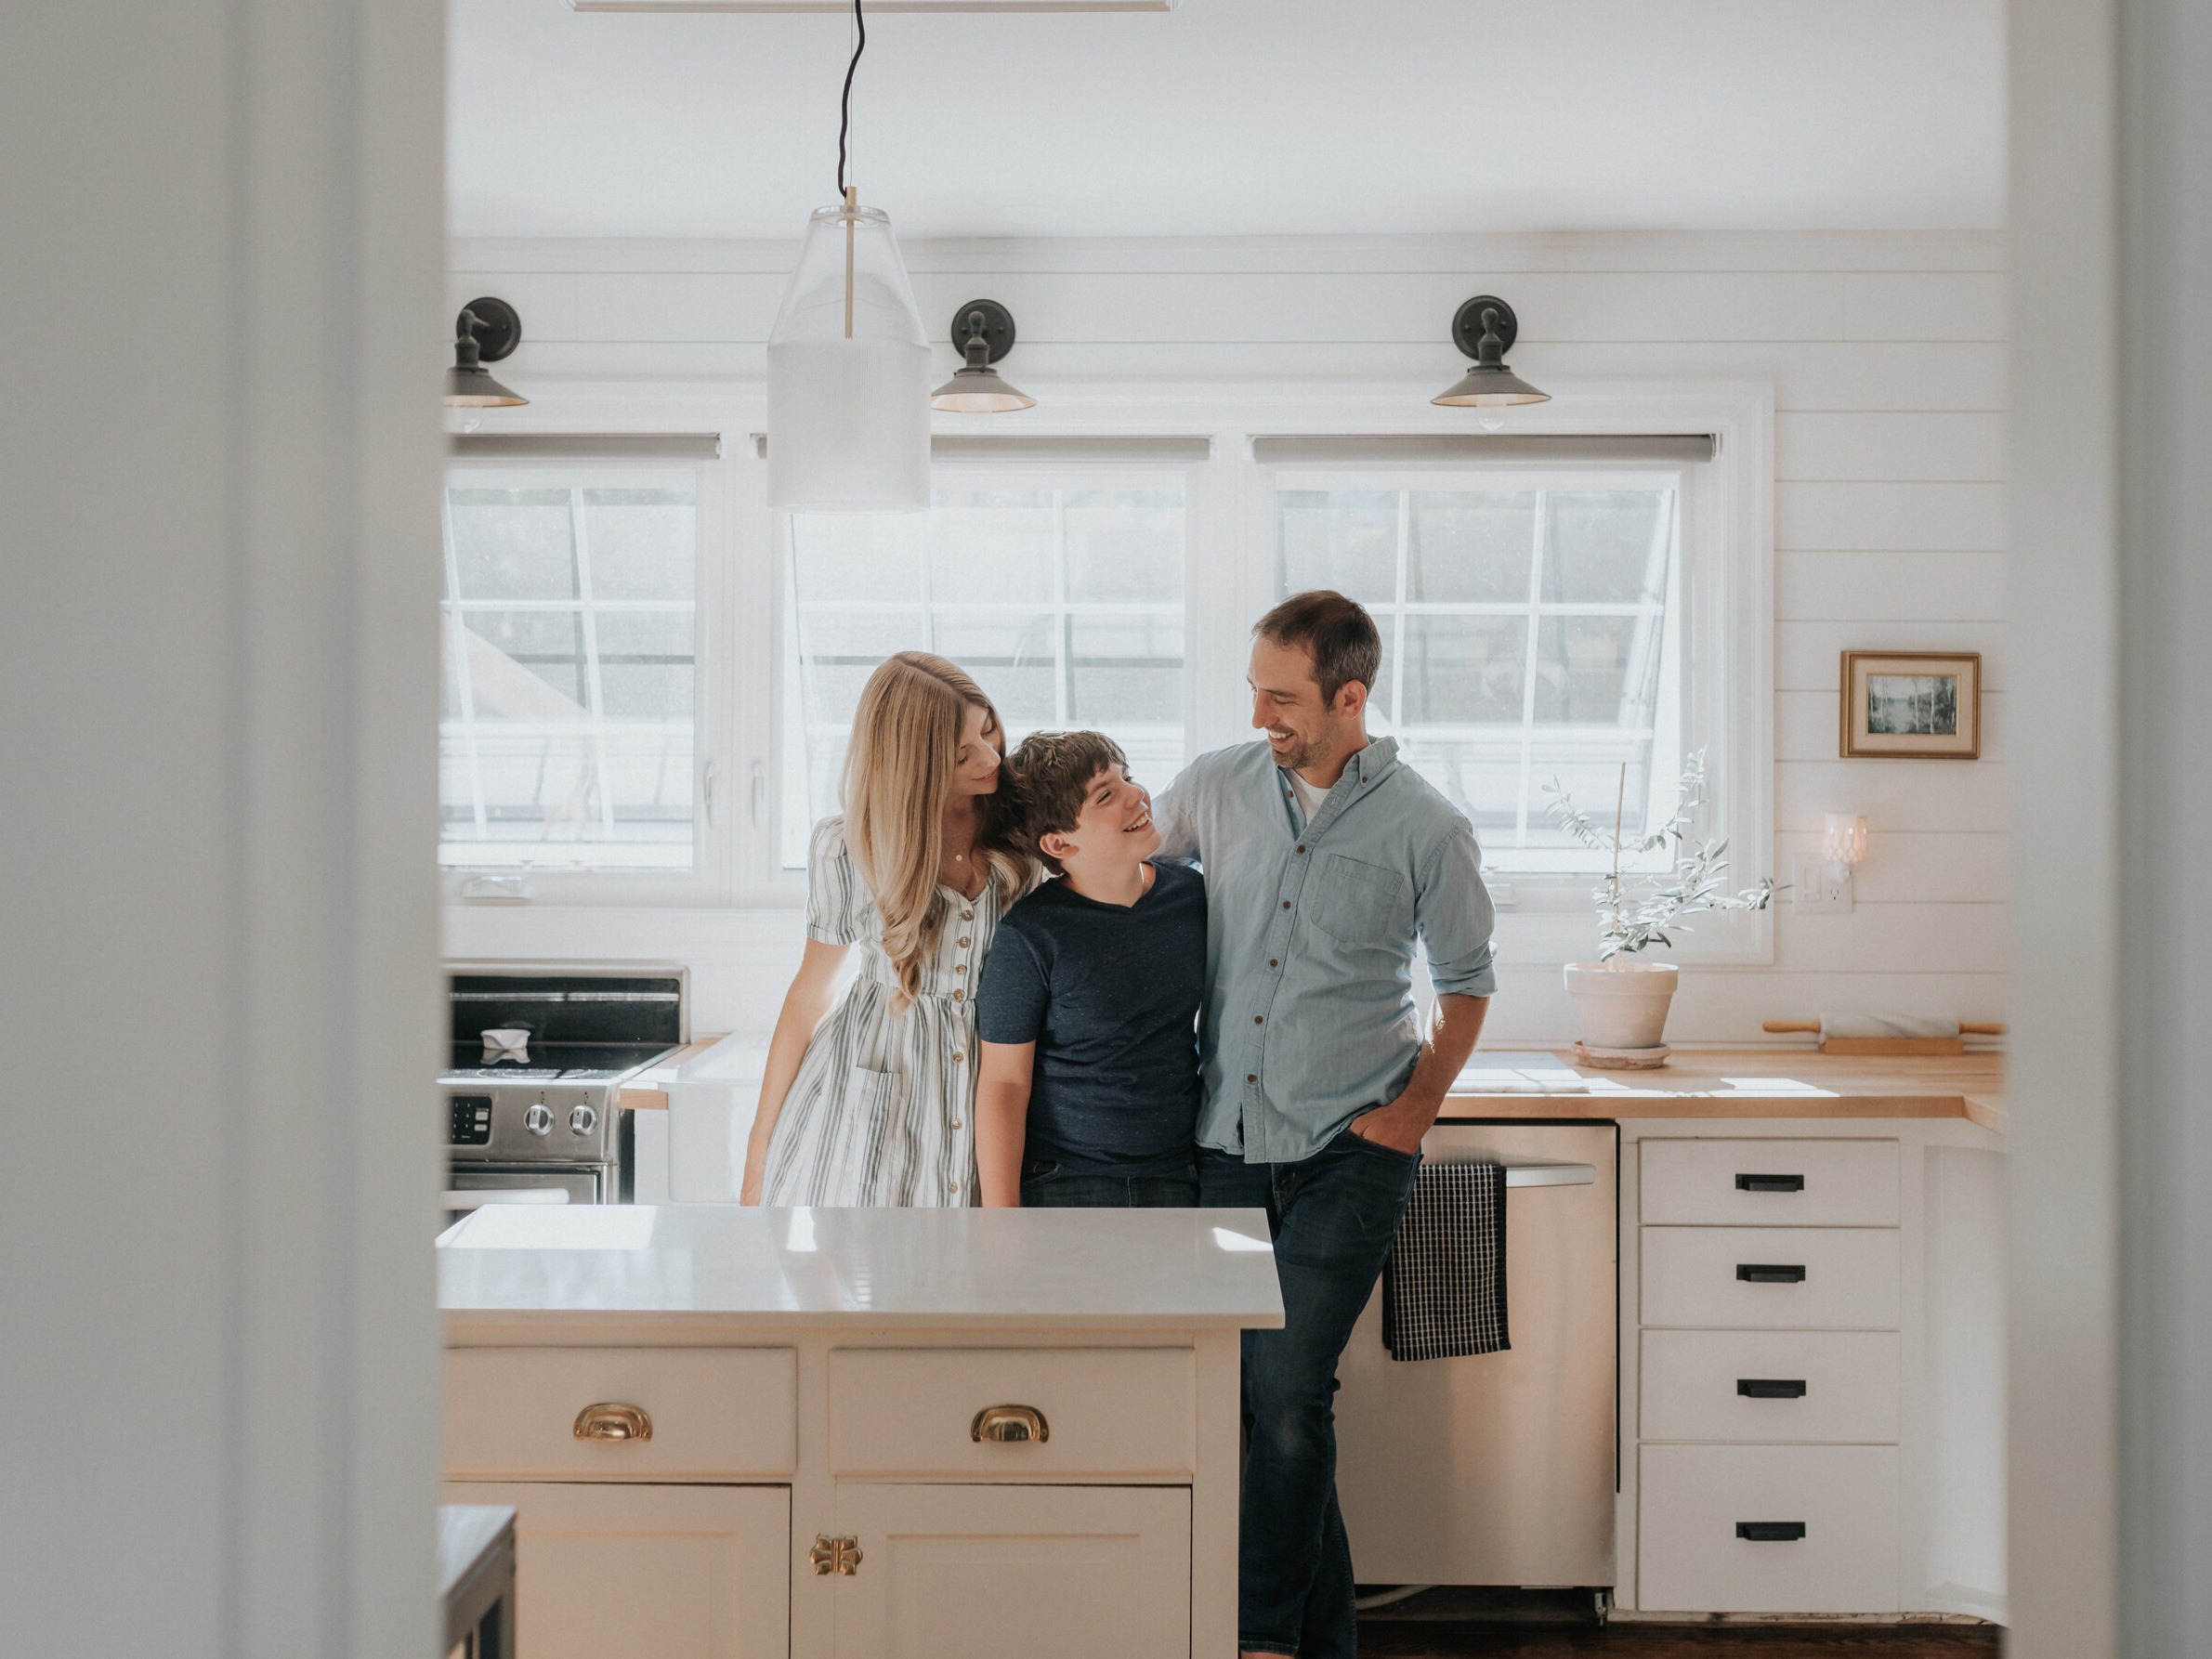
There’s just something so special about capturing families in their home. It is like a time capsule for this stage of a family’s life that will be looked back on many years from now. While it can be exciting photographing a family in their home, it can also be nerve-wracking.
A session in a client’s house is a very different challenge than finding the right light ahead of time by location-scouting. You won’t be able to suggest the perfect time of day in which you know the evening sun will illuminate the grass perfectly. Often, we don’t know what we are going to walk into especially when it comes to the light available at a given hour. The challenge can be stressful and rewarding. We have to be constantly looking at the available light while directing clients. In this guide, I’ll provide some helpful tips and tricks to finding the natural light during an indoor family photography session.
Section 1: Preparation
Key ideas:
- Discussing clients vision through consultations and a questionnaire can help determine the time of day their photoshoot should take place
- Requesting clients to do some light-scouting of preferred rooms during different times of the day. How to ask for reference photos and what questions to ask clients to determine the best time for their session.
The importance of pre-session communication
Like any session, preparation is crucial, and when you are walking into the unknown like a client’s home, how you prepare can greatly change the results.
A great way to start off is to ask your clients what their hopes and vision are for their in-home session. This can be done with the help of a questionnaire or a chat with your clients beforehand. Learning about their home life will give you cues as to what sort of activities they enjoy and help guide their expectations surrounding the session. This also gives you a chance to answer any questions they may have ahead of time. Giving them peace of mind will not only make them more comfortable, but will also ease any fears you may have and boost your confidence too!
Some questions you can ask: What would a regular day together look like at home? What are your favourite activities to do together? Tell me about each member of your family.
If the clients answer with “We love to cook breakfast together, followed by cuddles on the sofa.” There’s a pretty great clue that a morning session would be a great way to capture your client in their element. An important consideration is to make sure those rooms, in this case the kitchen and living room, will have enough light coming through them. If the windows of both the kitchen and living room face west during the early hours of the morning, there is the chance those rooms could be mostly in shadow, especially compared to east facing rooms.
This is when inviting your clients to do a bit of light-scouting on your behalf is a helpful way to learn about their home and avoid possibly darker than expected rooms! This can be as simple as asking for a quick cell phone picture of the rooms they would like to shoot in, during the time of day they were hoping to have their session take place. If the room is dark, you could ask them to keep an eye on the light and ask what time of day those rooms become illuminated with light.
It is also helpful to send clients a guide about what to expect during your session together. I’ll ask them to open all the blinds and curtains before I arrive, as well as turning off all overhead lights and lamps.
Section 2: Practice, practice, practice
Key ideas:
- The importance of practicing shooting in different lighting scenarios in your own home
- Different types of light found in-home
What better place to start then in your own home. All homes are different, but we can learn a lot from practicing with the light around us. We can photograph our children, pets, or even our morning coffee. You can start by walking into different rooms of your home and observe the light around you. Pick up your camera and start photographing any type of light that catches your eye. Is it the curtains blowing in the early morning wind? Or perhaps the way your house plants make interesting shadows on the wall. The more we open our eyes up to the light around us, the more we can play with that light, become familiar with it, and be able to incorporate it while photographing a family session.
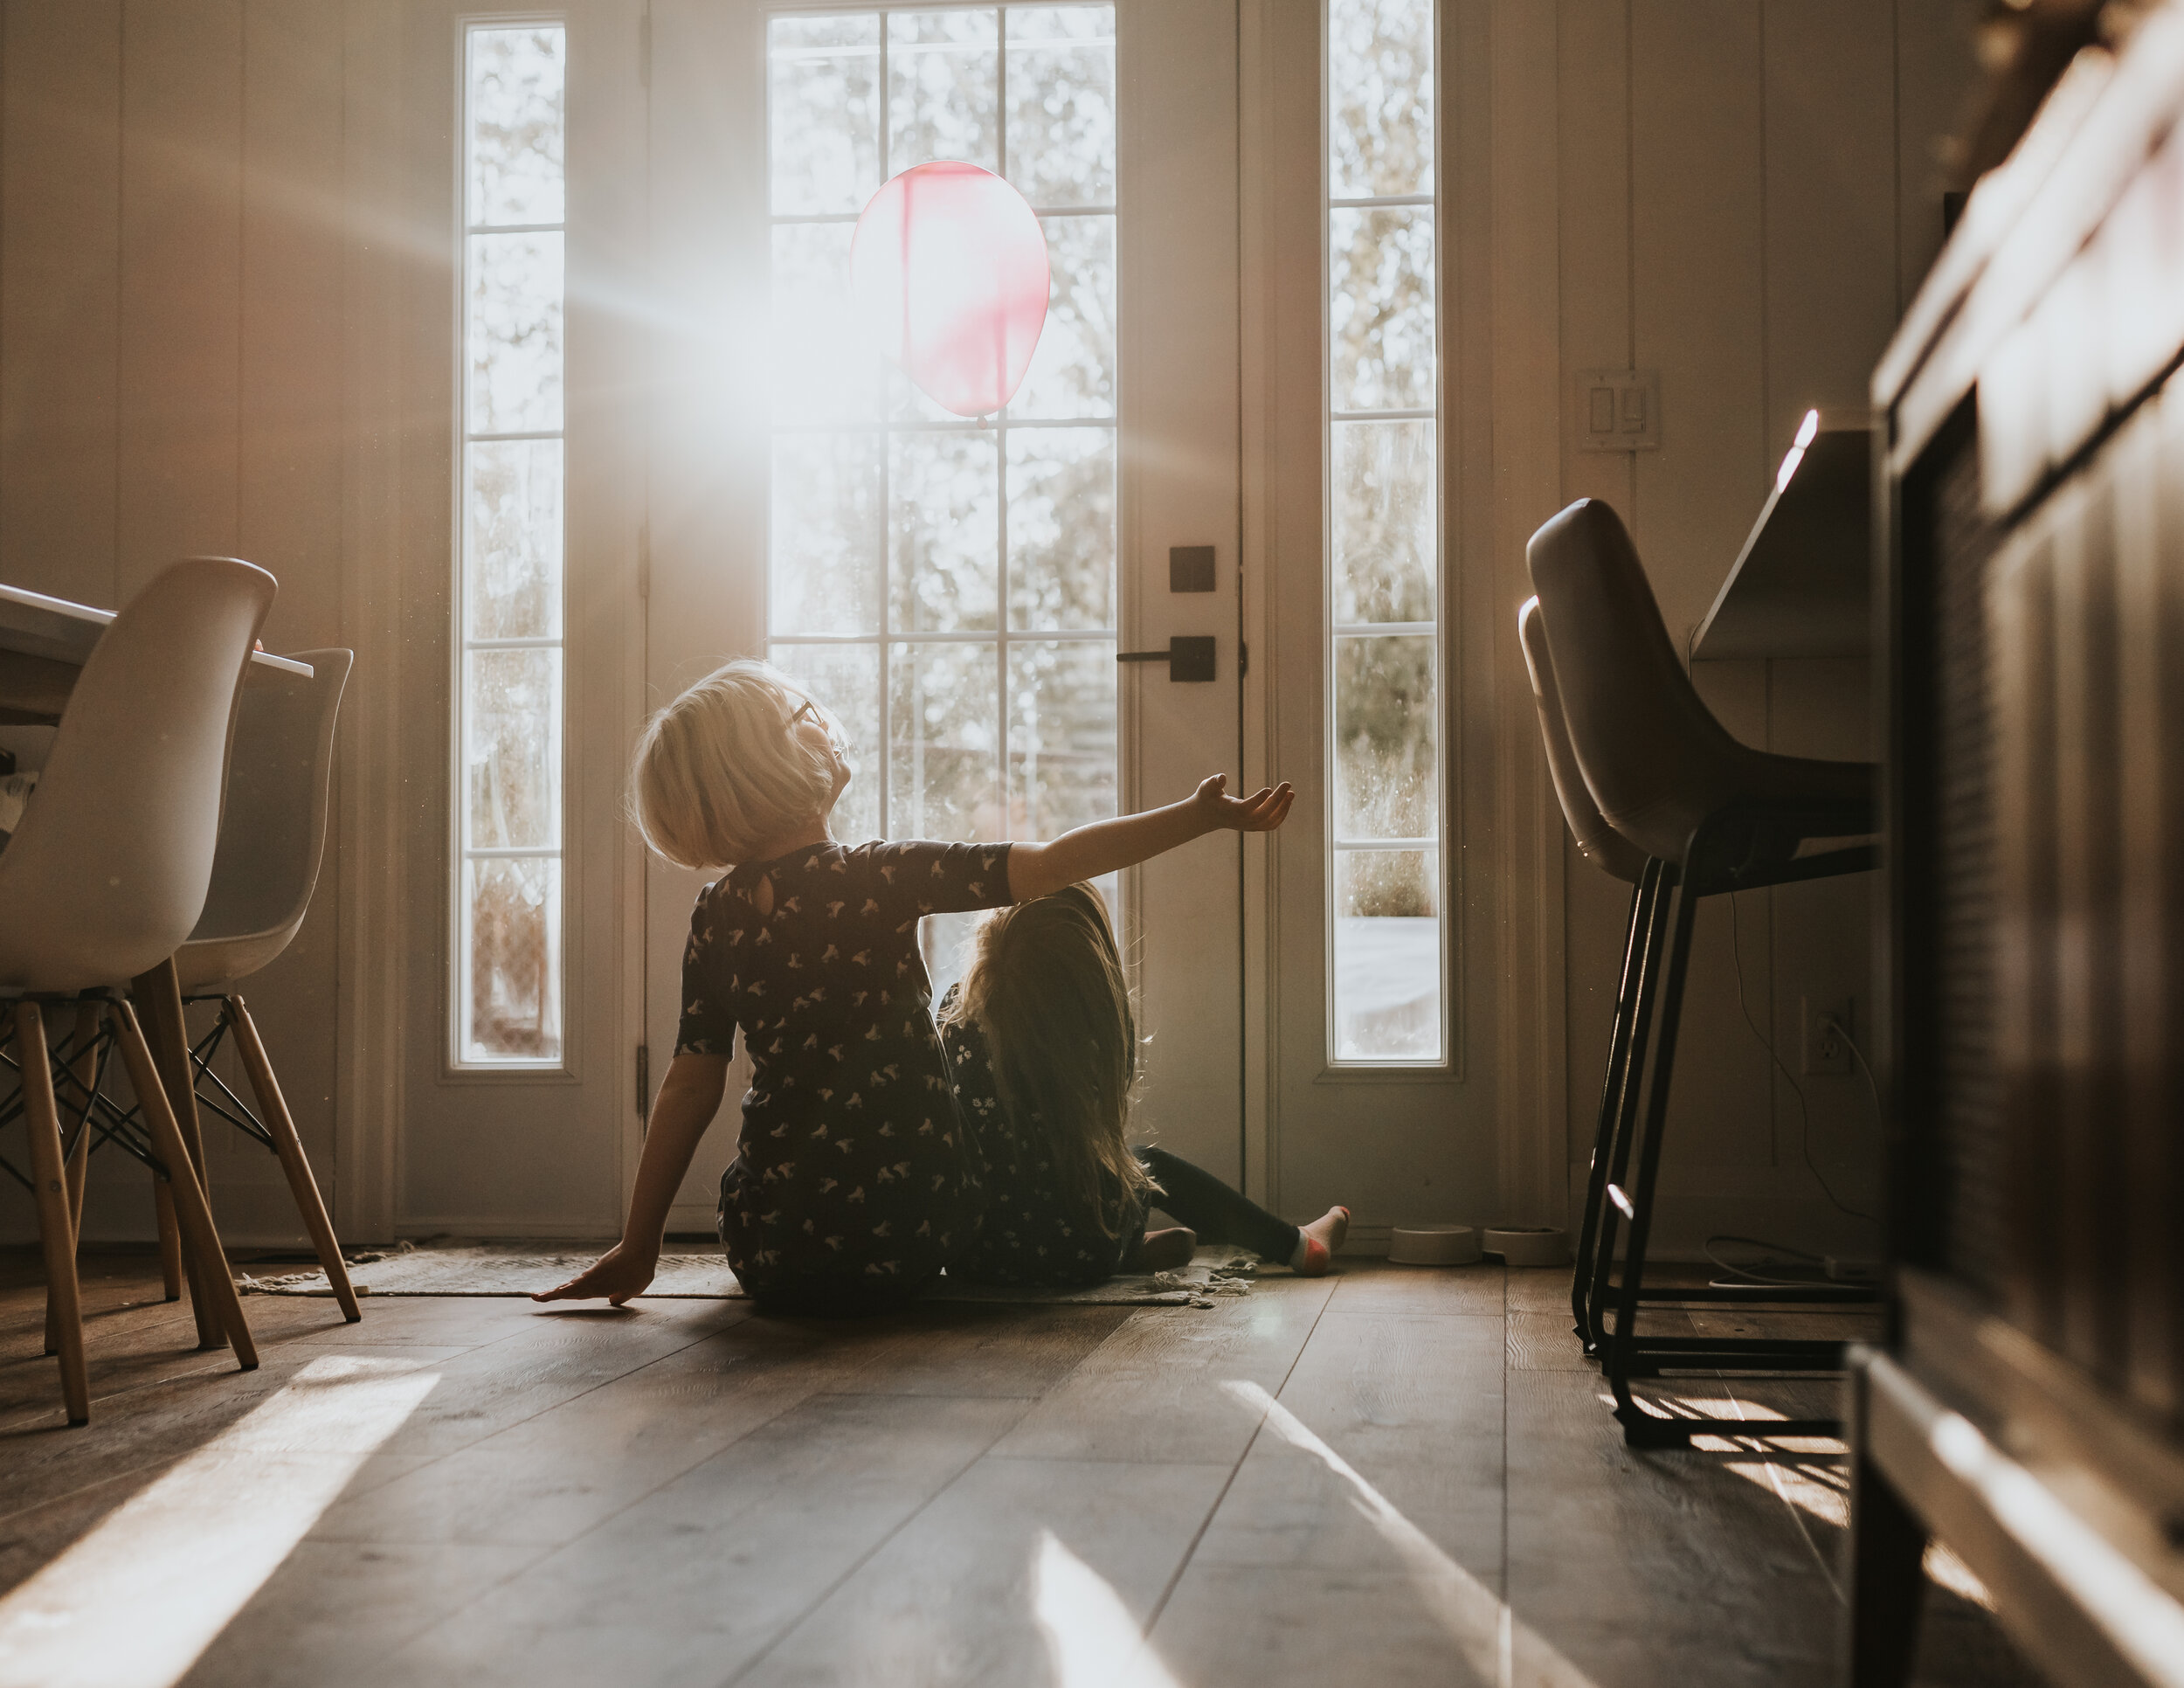
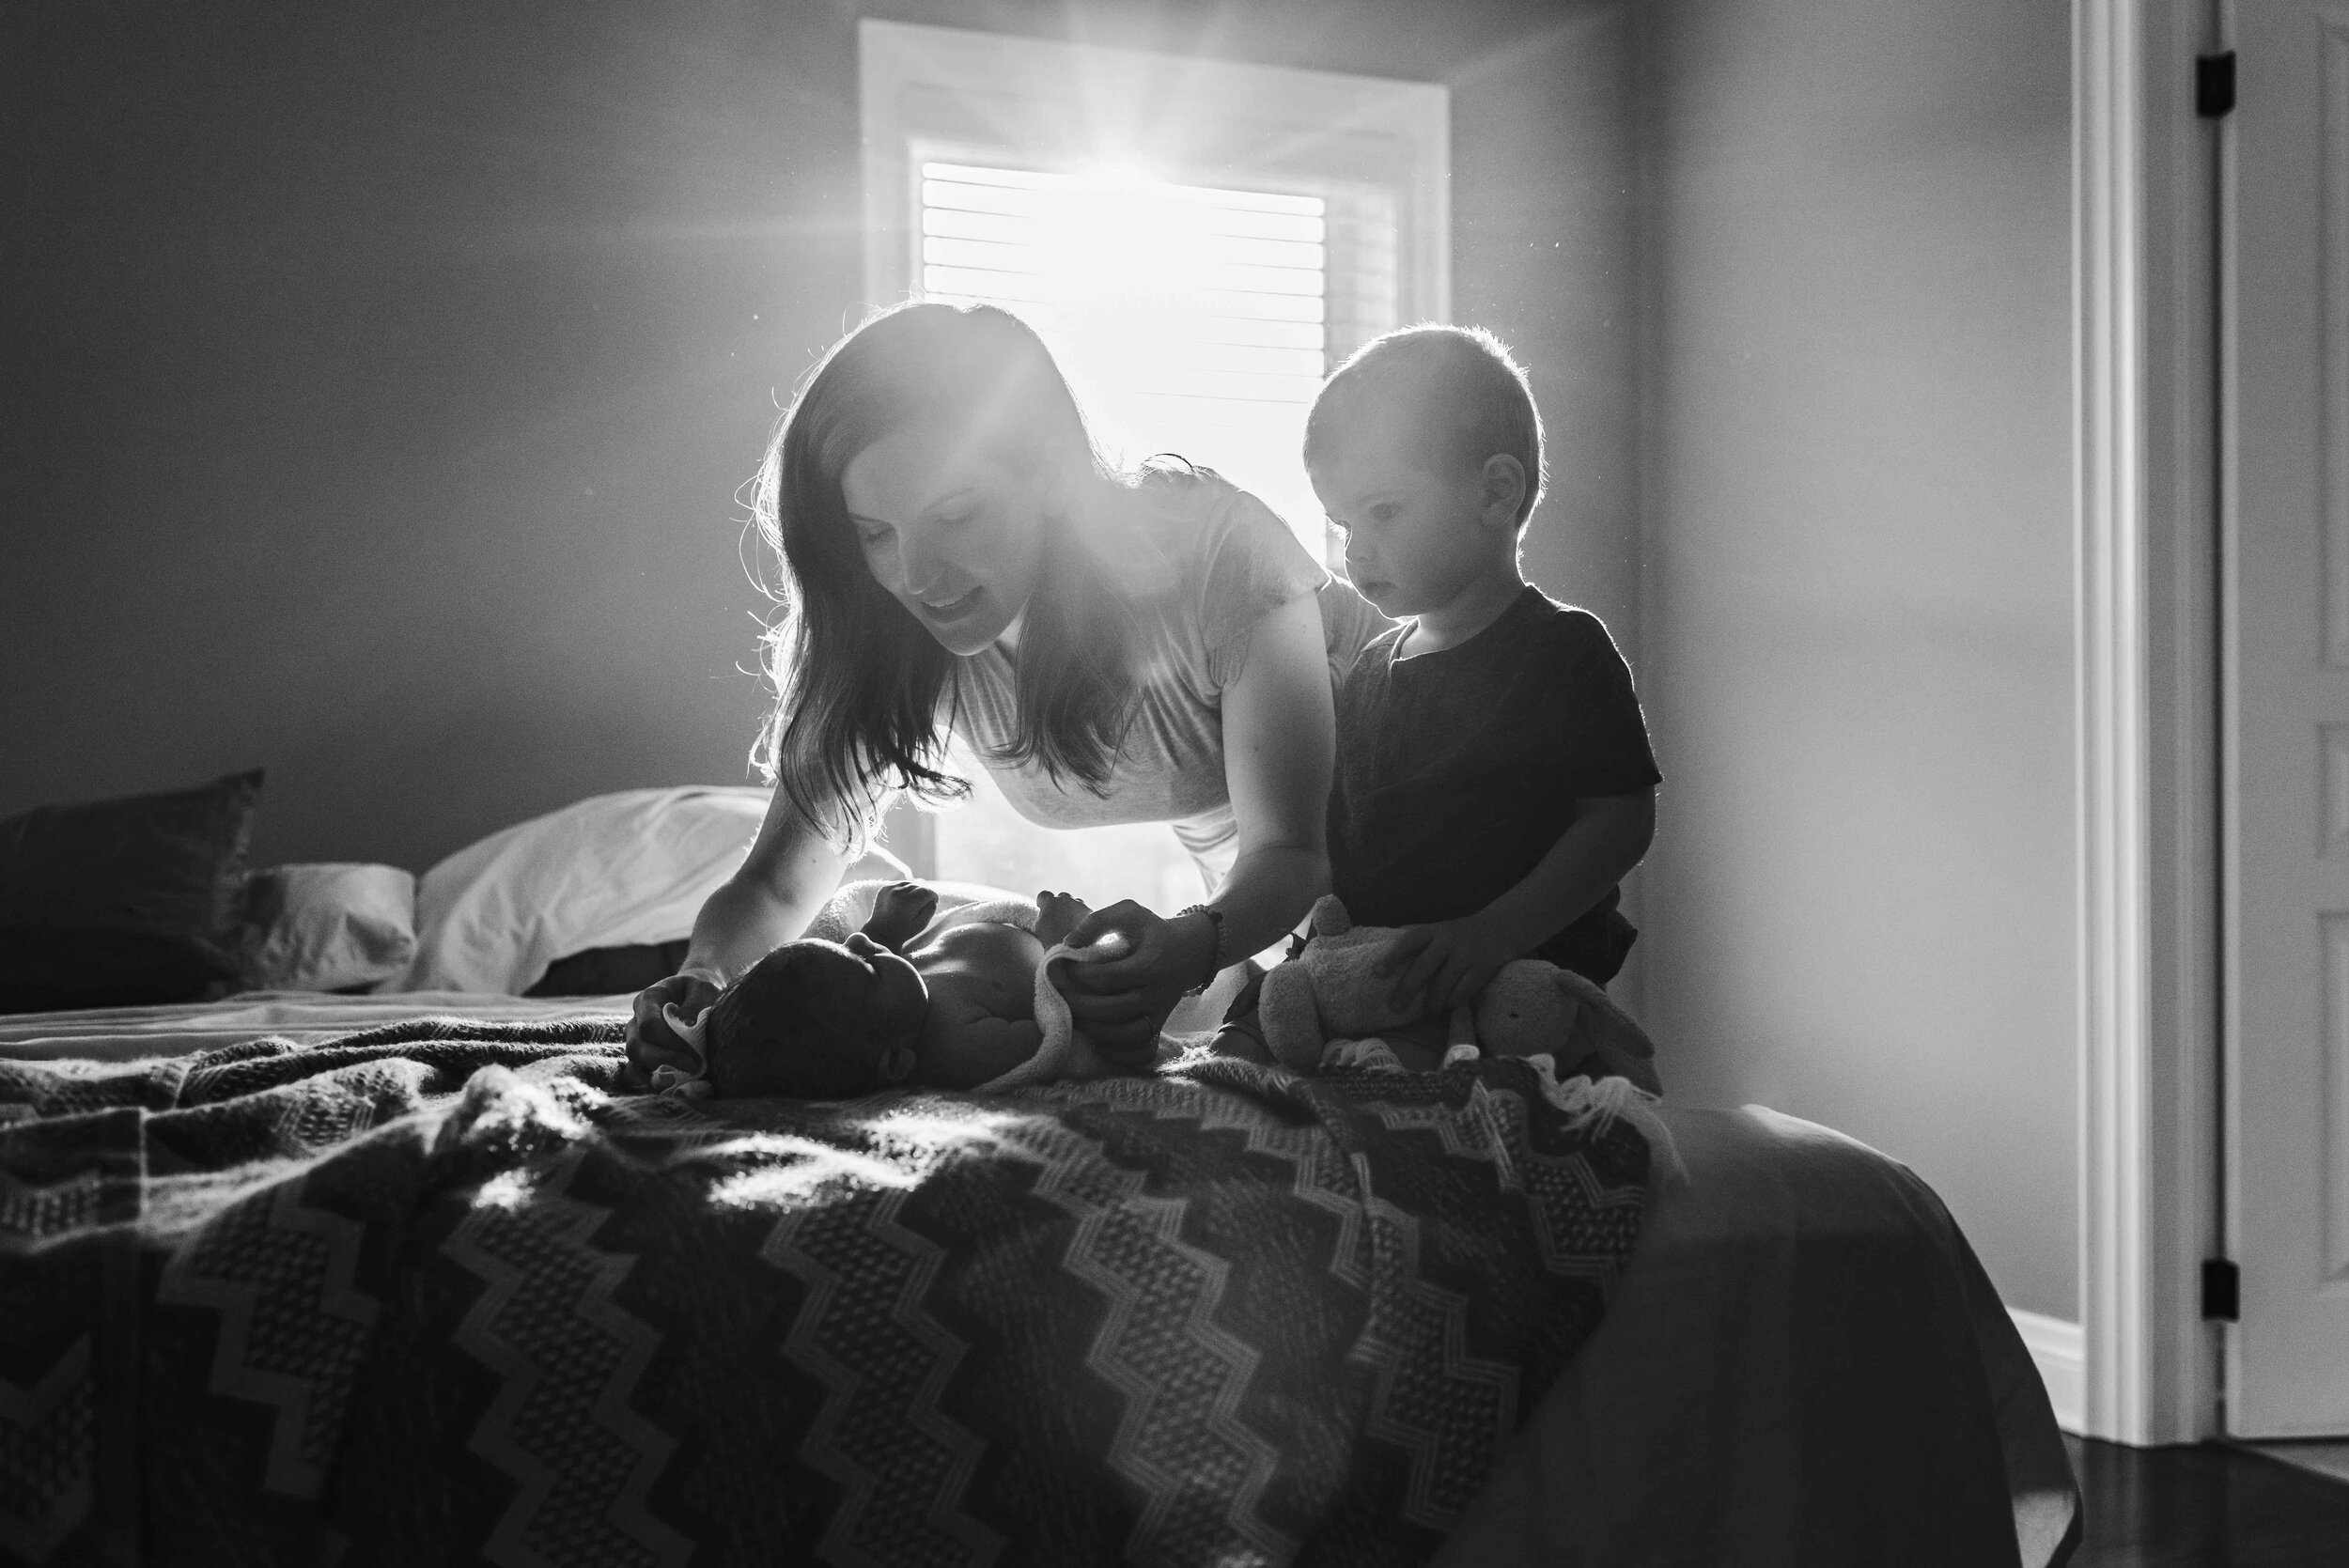
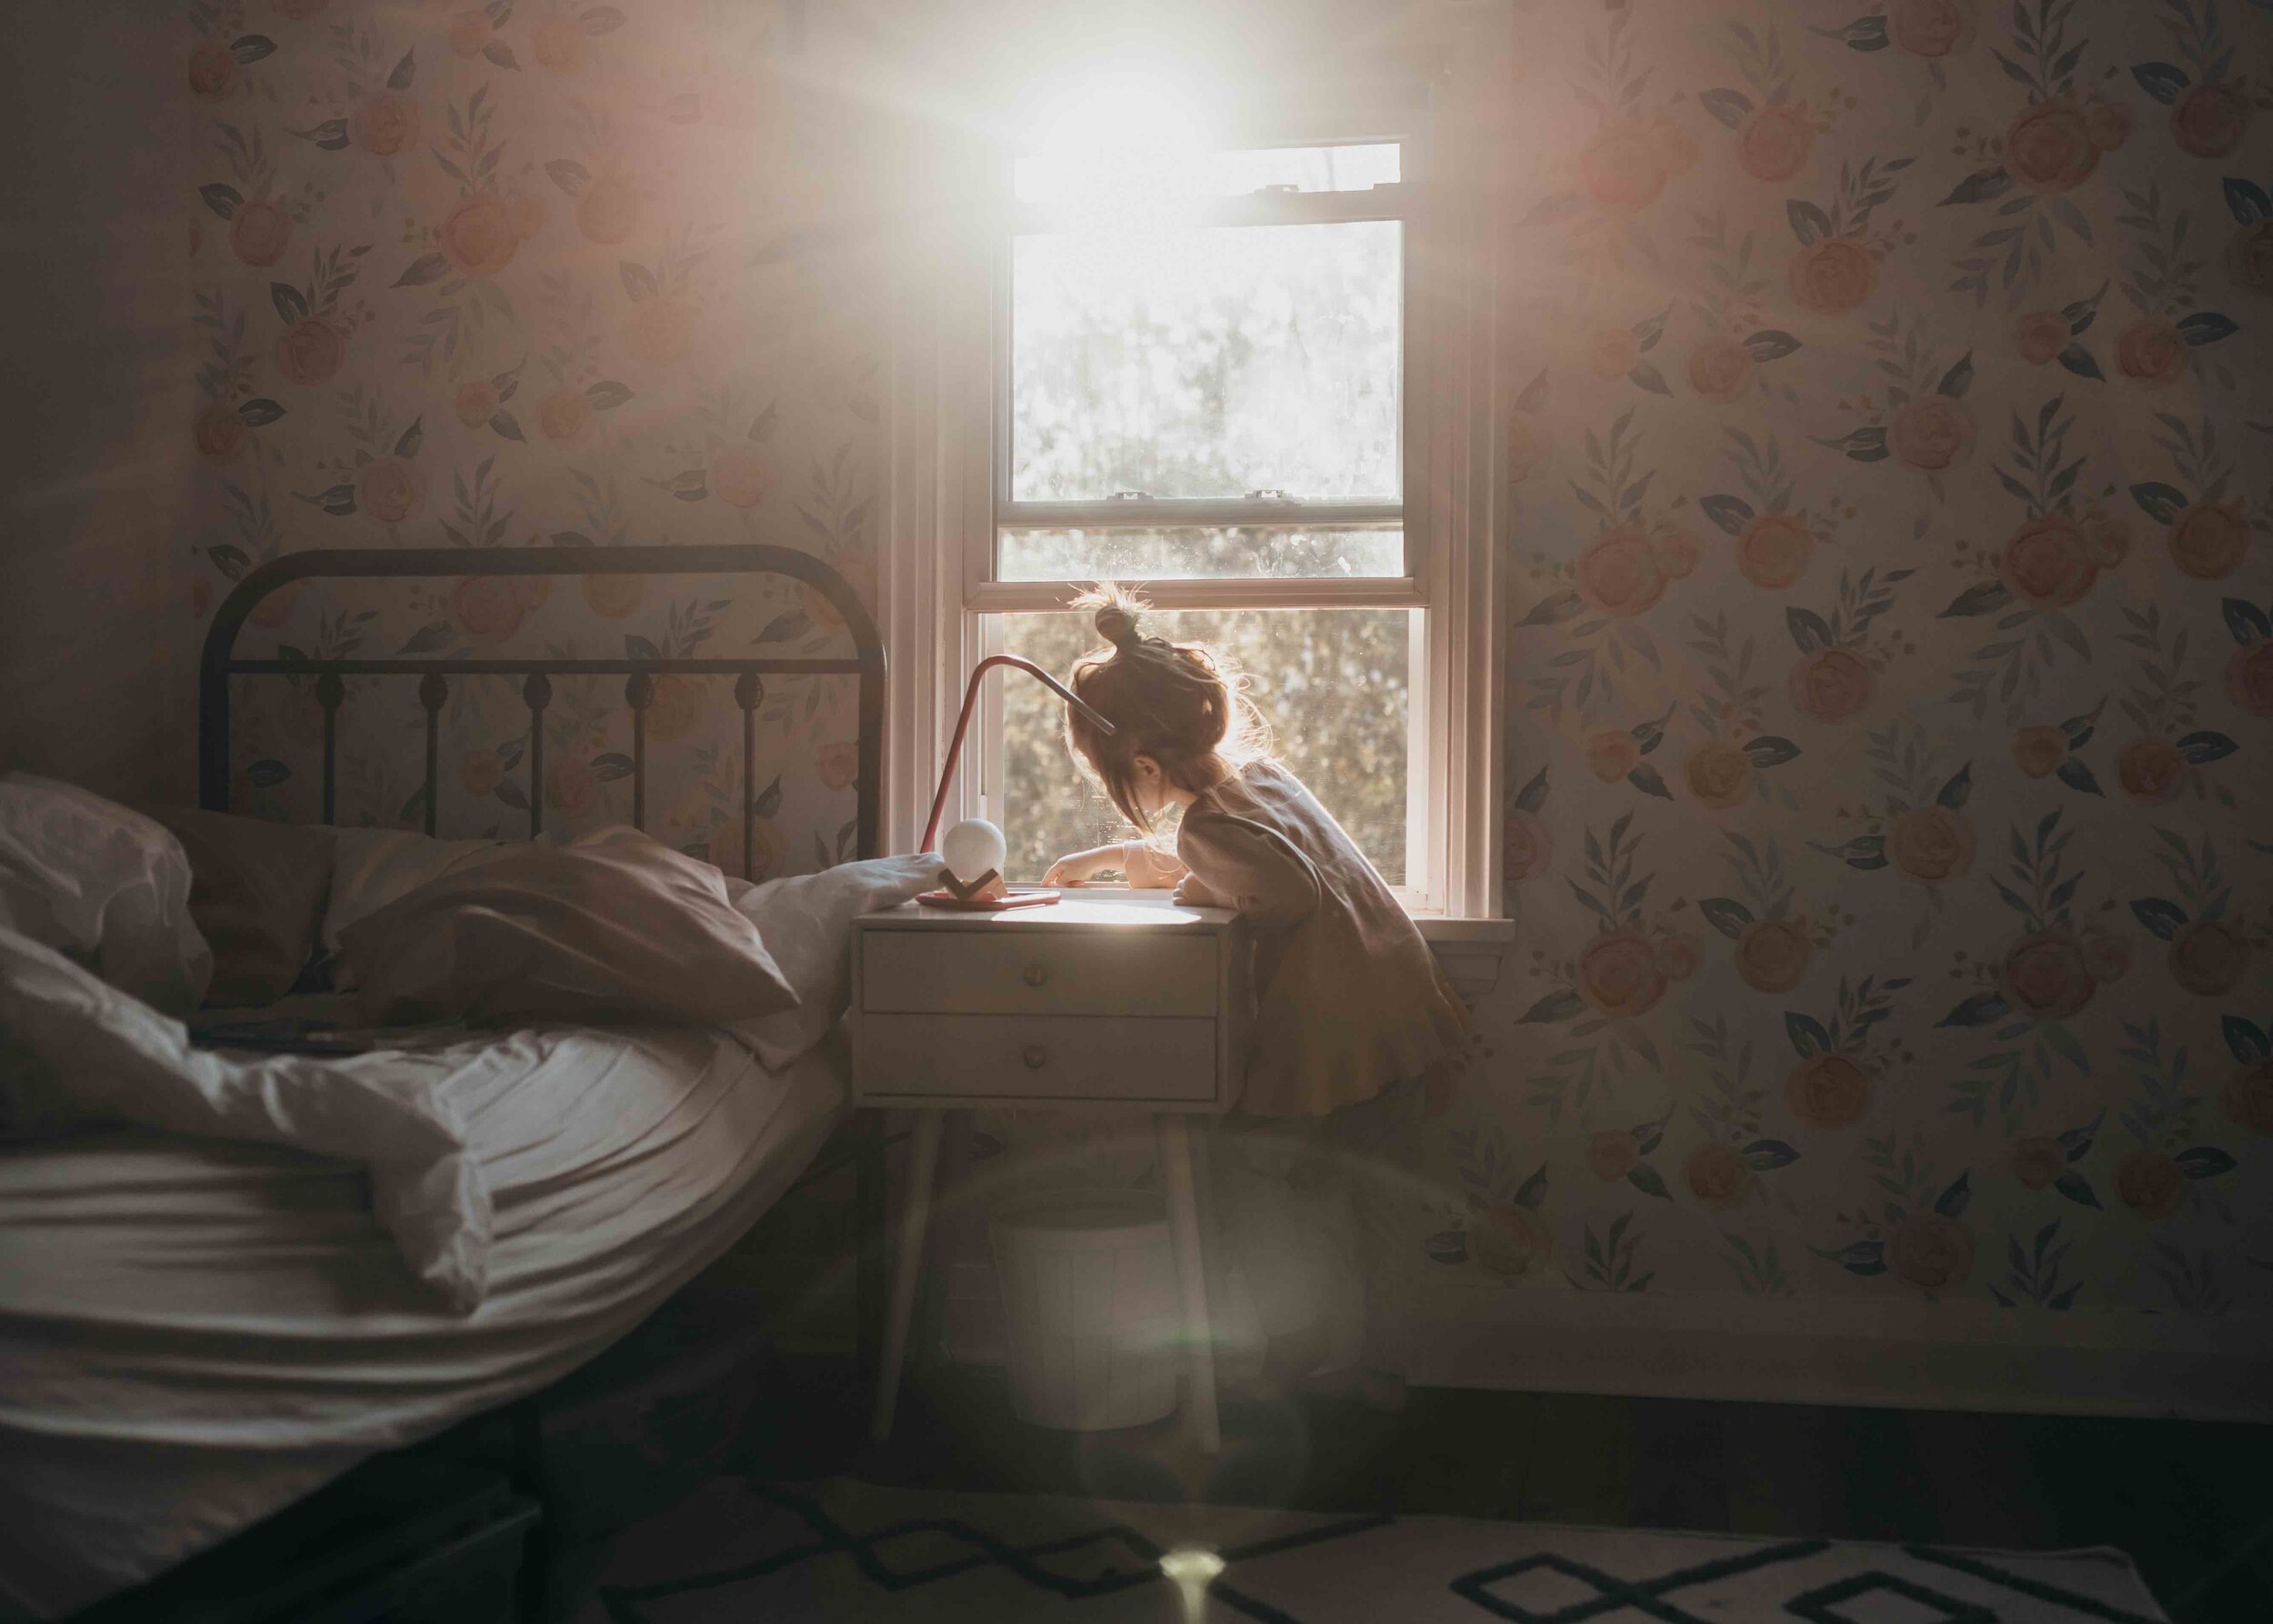
Light can add so much to an image, it can be an expression, add emotion, and help tell the story you are portraying. This can be the soft window light while mom and daughter tell secrets to each other, a playful backlight image of children dancing, the pocket of light that emphasizes the stuffed bunny a child is playing with on the floor, the silhouette of an excited child who’s being tossed in the air.
An exercise: Take an object, such as a mug of tea. Place the mug in one spot and start taking pictures of it. Move around the mug, photograph in front, the side and above. Change your perspective and angles, noticing how the light changes.

The different types of lighting found in a home

- Flat light - The light is evenly lit, no harsh shadows. Great for capturing family portraits.
- Harsh light - Bright, directional light that causes strong highlights and dark shadows. Look for shapes of harsh light on the wall or floor. Use the shapes of the light and shadows to drama to photos. When exposing, spot metering is the way to go, expose for the highlights on your subject's face.
- Dappled light - When light is filtered through trees or an object to create spotted shadows.
- Back lighting - The light is coming from behind your subject. Shoot wide-open for a hazy glowy light or stop down for a more sunburst flare.
- Pockets or slivers of light - When light is hitting one part of the room and the rest falls into shadows.
- Chiaroscuro - meaning light and dark - combining a strong light source with a lot of shadows.
- Loop lighting - the light is coming slightly from above and the subject is lit about a 45 degree angle.
We are all drawn to different types of light. After practicing, you will learn what types of light you like and which ones you don’t. Look through your older work and current pictures. Do you notice a theme, a style of light that speaks to you?
Section 3: The day of the session
Key ideas:
- What to do when arriving at a client’s home
- Different examples of how to direct clients into the light
- Problem solving when the light is limited
- Getting creative with light and portraits
Once arriving at a client's home, connect with them for a moment about the session to gauge how they are feeling and then immediately ask for a tour of the house. With the previously sent pictures in mind, you can be on the lookout for other potential locations, especially if the light is just right! Always be hunting for light!
After touring a client’s home, pick a few different rooms for family portraits, often the master bedroom is an ideal location because this room tends to have nice window light. The second location could be wherever the light is right, a family curled up on a sofa, hanging out in the kitchen, or cozy on a staircase.
Lighting tips for a family session: When in doubt find a window - no matter how dark a house might be, every house has a window! Place your subjects on a 45 or 90 degree angle to the light. This will give your subjects a nice contrast between light and shadow creating depth in the image. Remember that the closer the subject is to the window the more dramatic the portrait will be.
Always pay attention to your subject’s faces, try when possible to have them facing a light source. Open up the curtains or the front door if necessary, as the opening will create a nice directional light.
Getting creative - Once you have all the shots needed for your gallery, now is the time to get creative! Shoot through items found around their house. Play with a triangle or rainbow prisms or even use your phone for a reflective surface. Play with different types of light like mentioned in the practice section. Shake a rag in bright light to make pretty dust particles. While shooting in bright light, place a blanket over a child and play a game of peek a boo. A white swaddle will create nice soft light, and a knitted blanket can create an interesting dappled light on your subject's face.
Some final tips and tricks
- Don’t be afraid to photograph families in light that takes you out of your comfort zone, push yourself and see what you can create!
- Good light can replace a pretty location. Whether it be the side of a sofa, the floor by a window or a room the family had no plans to have photograph, if the light is good suggest shooting there! Don’t be afraid to take charge, they will thank you in the end.
- Look at your hand - place your hand in front of you and move in a slow circle. Notice how the light on your palm changes as you move around the room. Place your subject(s) in the spot where your palm has the best light.
- Move around!
- Bring a sheet or curtain to a session to help defuse harsh light
- To help add drama and emotion, close blinds or curtains until only a pocket of light remains. Place your subject in the light letting the shadows fall behind them.
- Don’t be afraid to bump that ISO!
FAQ's
How can I find and utilize natural light effectively when photographing indoors?
What are some tips for managing challenging lighting conditions when shooting indoors?
How can I make the most of window light in indoor photography?
What are some common mistakes to avoid when working with natural light indoors?